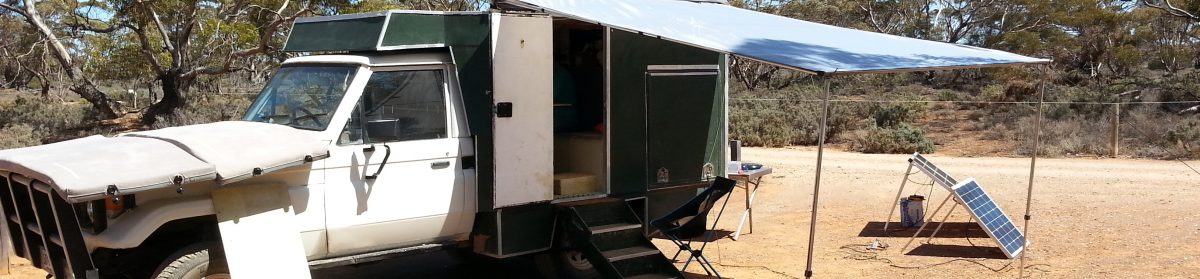
In November 2016 we purchased off gumtree a Landcruiser 1987 HJ75 Ute, with the idea of converting it to an Overlanding vehicle for crossing Africa (and more). I think if I had known at the time it would take more than 2 years to build and ship, I might have given up there and then.
Initially I thought of building a steel framed camper clad in maybe aluminium. One thing I learnt from watching lots of youtube videos and having travelled around a fair bit of Australia, is that weight is everything. Overload your vehicle and you put everything under strain, resulting in early failure. I came across Earthroamers, and did think it might take a while to save up the A$600,000+ to pay for one, so maybe I could build one? Well not quite an Earthroamer, but a vehicle made of composite fibreglass like the Earthroamers.
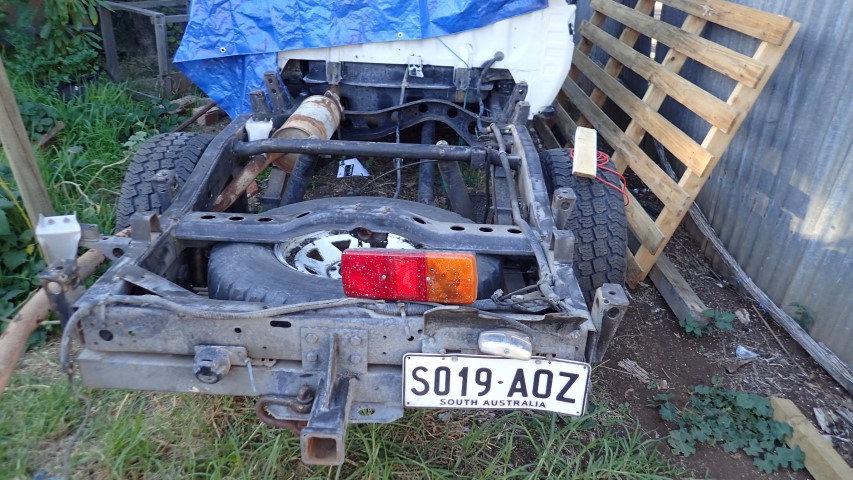
So having zero experience building anything out of composite fibreglass I set off to build myself a box to put on the rear carrier of my bicycle, and another to put on the front of my bicycle. That worked out OK, so after spending about 12 months fixing the rust on the Landcruiser HJ75, including fibreglassing most of the floor on the drivers side, and trying and failing to fix the front window frame, I started building the camper to put on the rear of the ute.
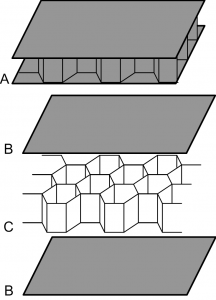
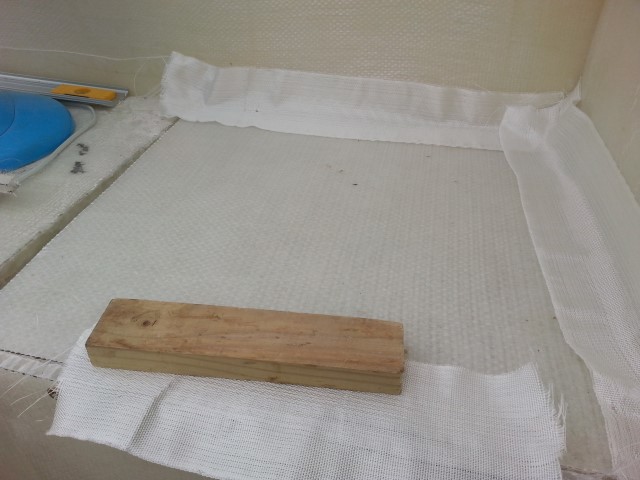
Essential composite fibreglass is a semi-flexible plastic core that has a hex pattern to it so that it is strong in compression. You then layer fibreglass either side of the core, and it results in a strong light material. Composite fibreglass is used a lot in yachts.
Composite construction (from Wikipedia)
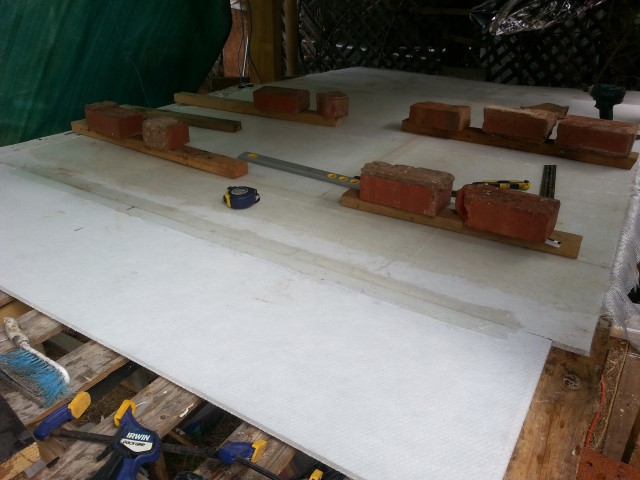
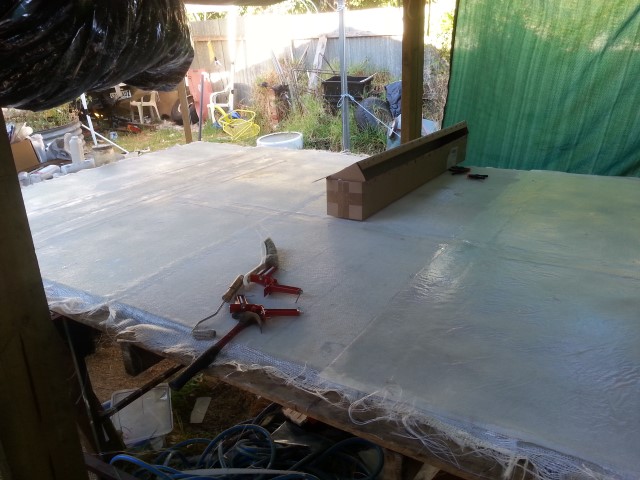
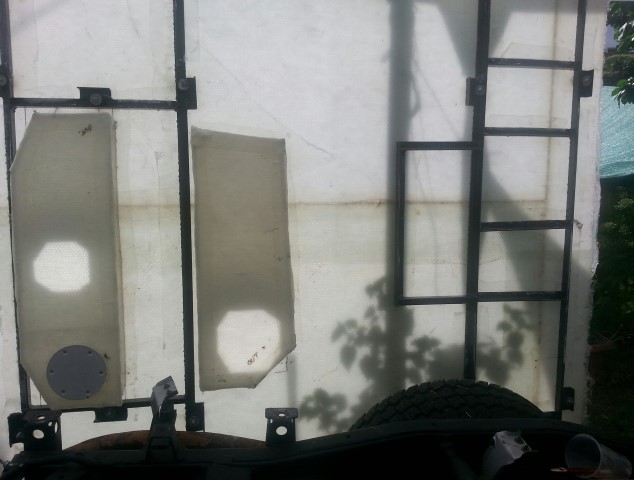
So I started constructing a base to put on the ute frame:
It was hard keeping such a big piece of floor flat.
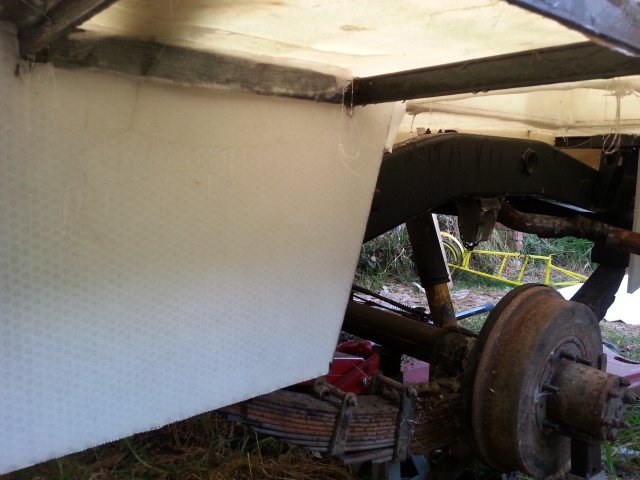
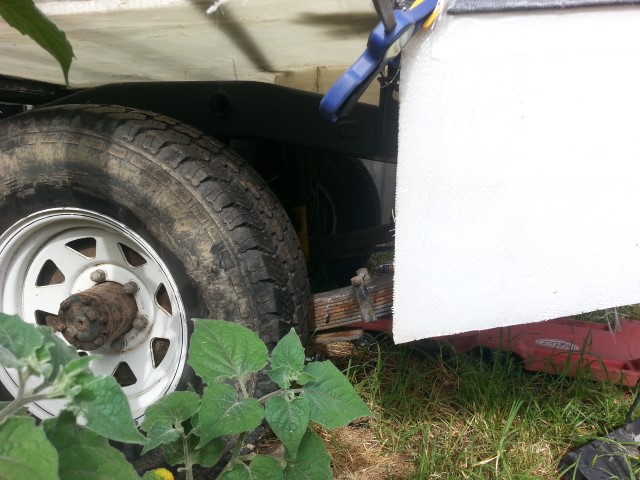
The first mistake I made was not allowing for wheel arches. The wheels were fine underneath, but as soon as I hit a bump the wheel would have hit the floor. So wheel arches were added.
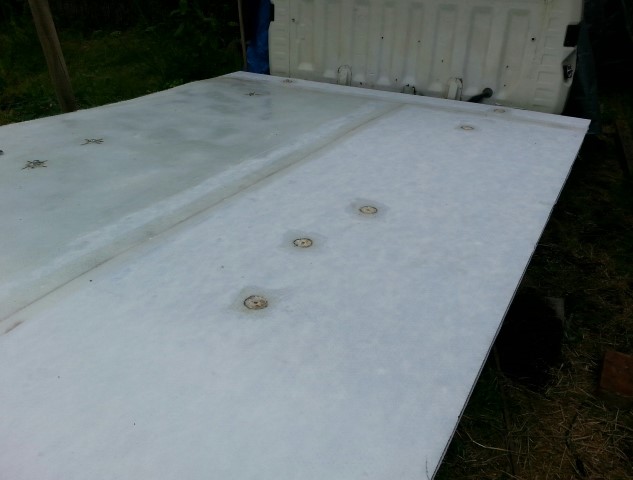
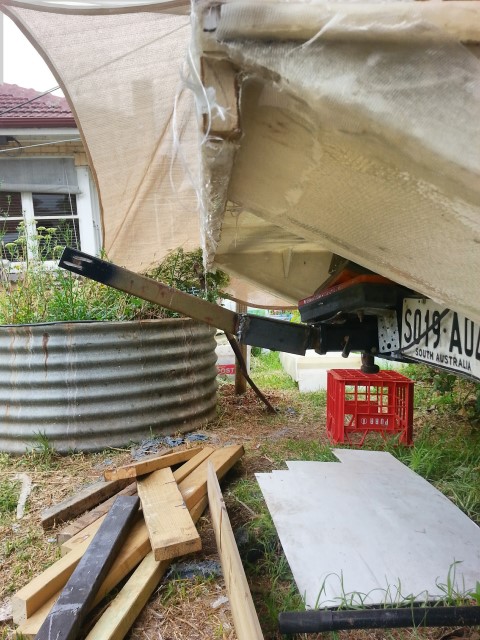
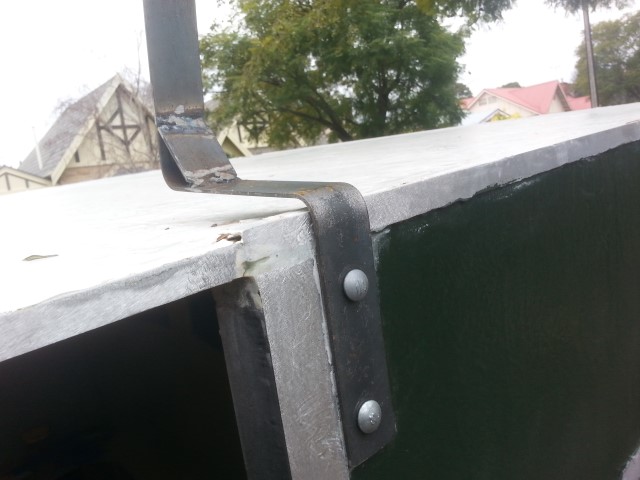
Adding those pesky wheel archesThe composite floor was fibreglassed to a steel frame bolted to the chassis on rubber mounts.The steel frame (welded by my Dad) attached to the floor
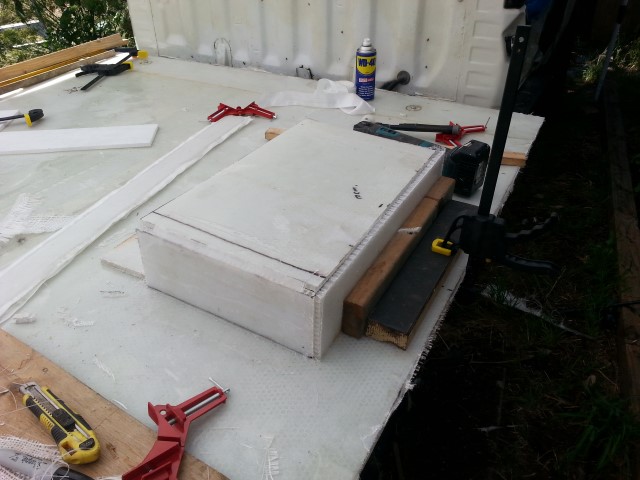
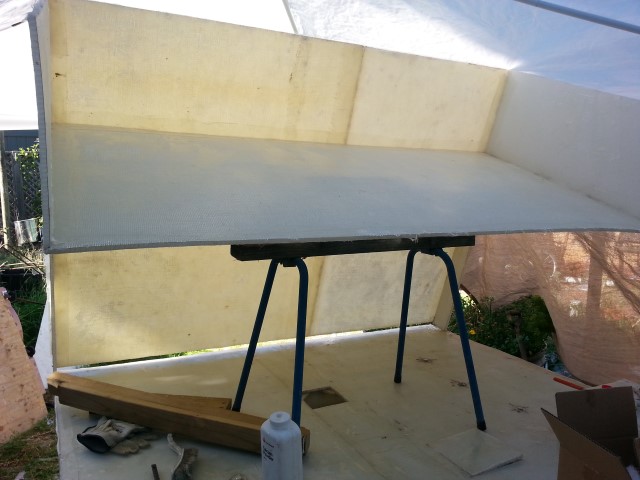
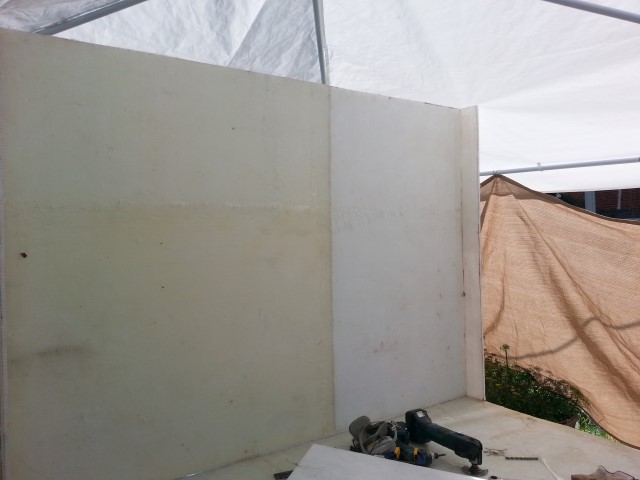
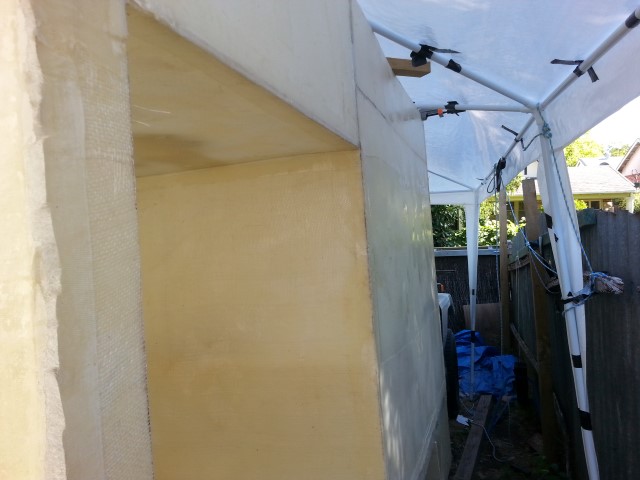
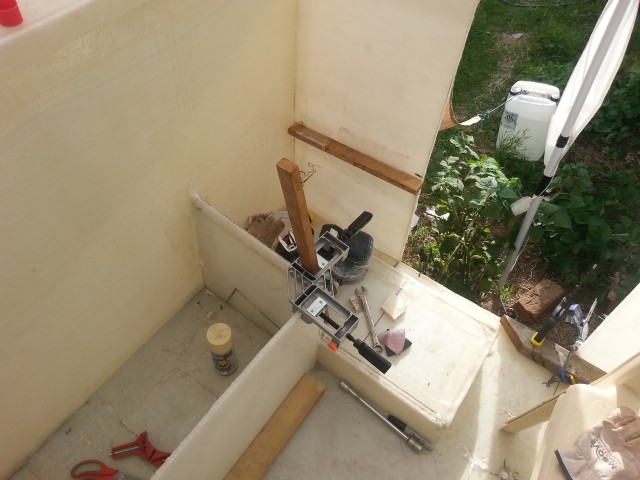
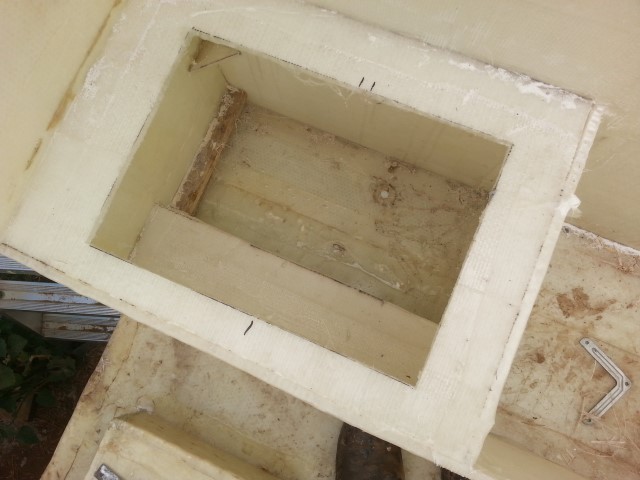
Once the base was done then it was a matter of building walls up from there. Difficult because I wasn’t building it in a mold, so it was not easy to keep the sides square.
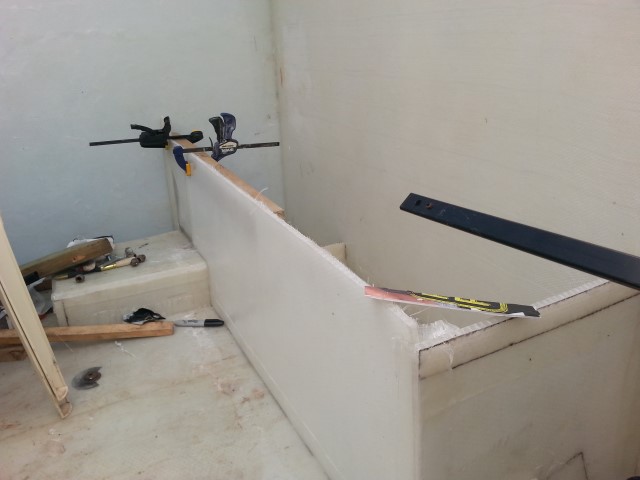
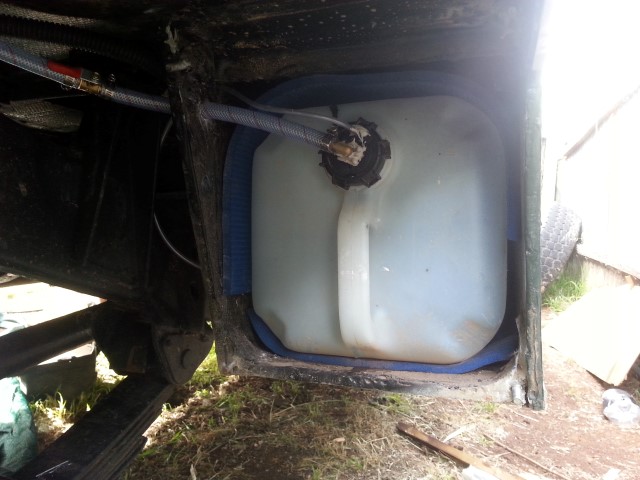
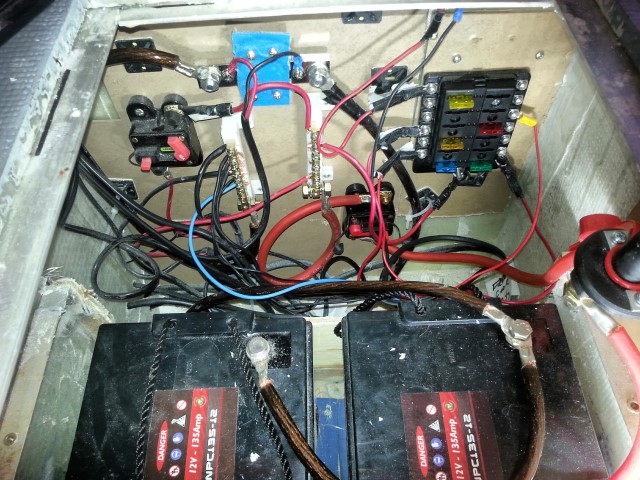
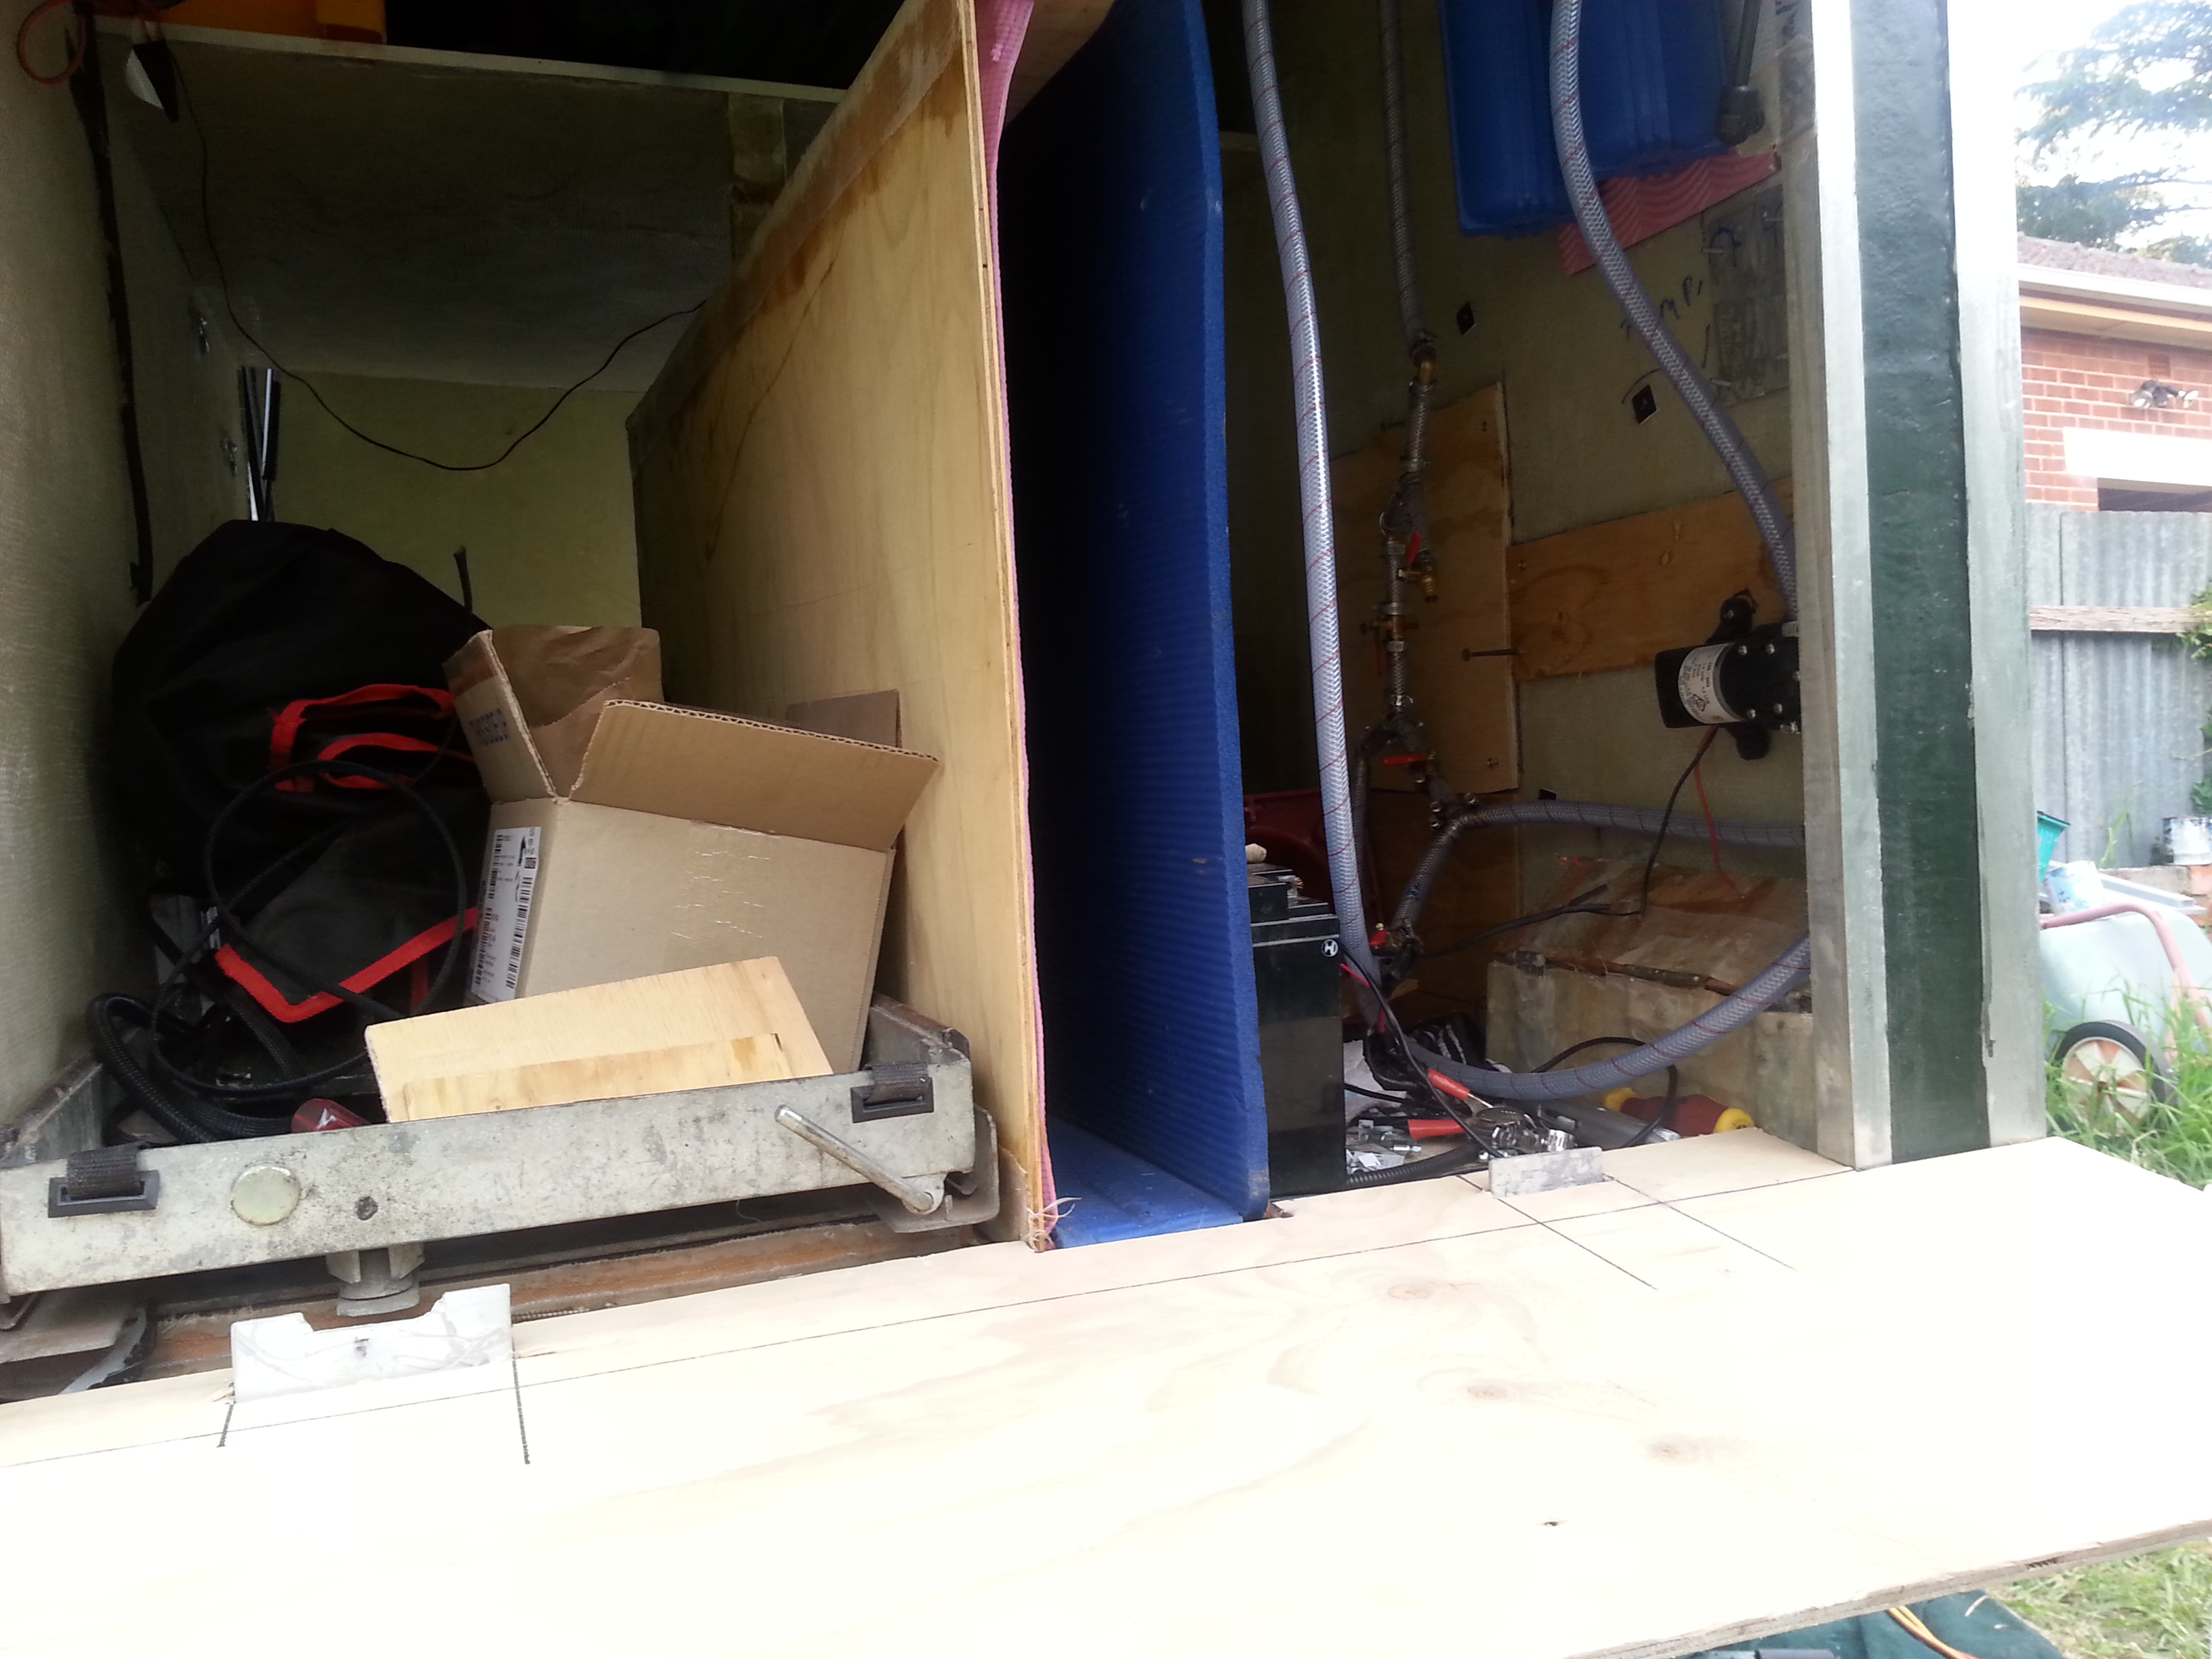
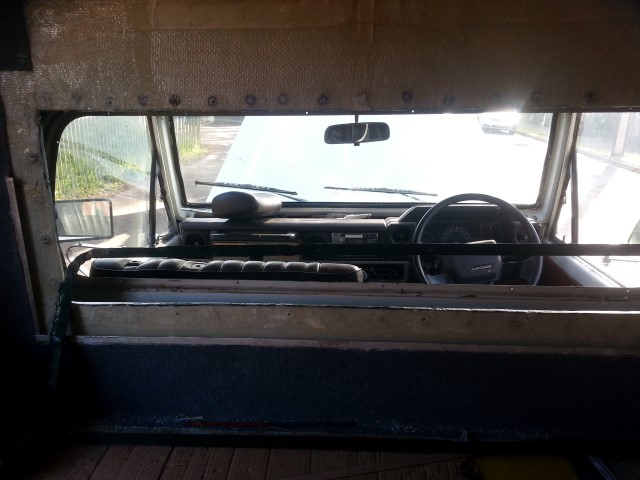
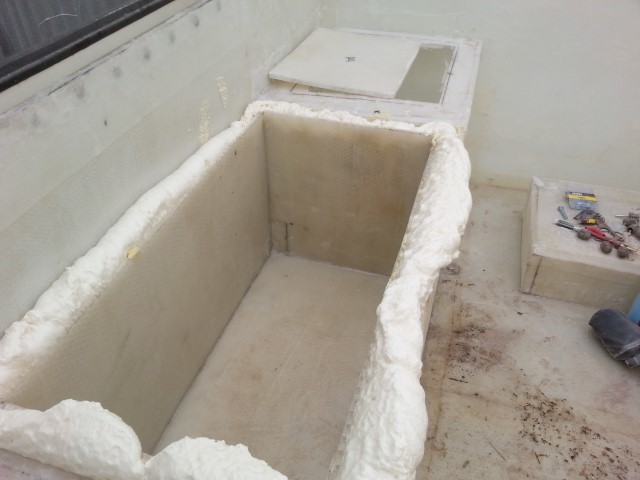
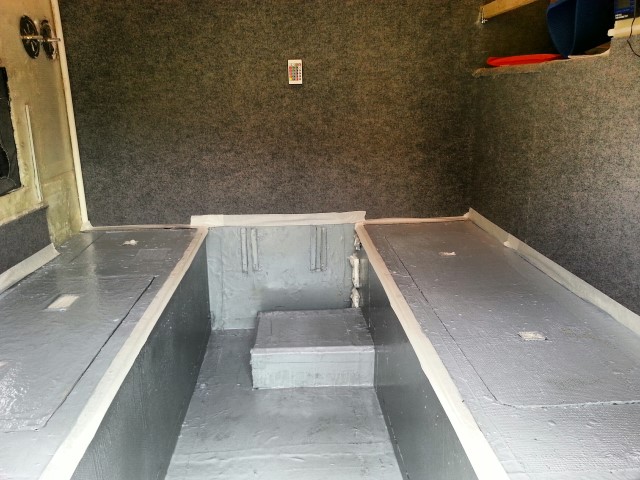
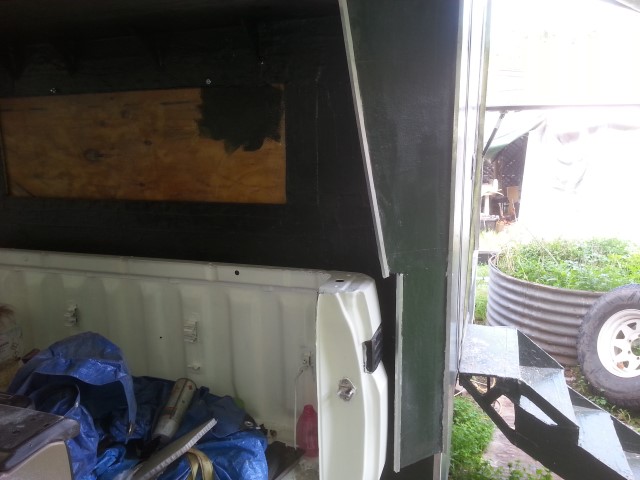
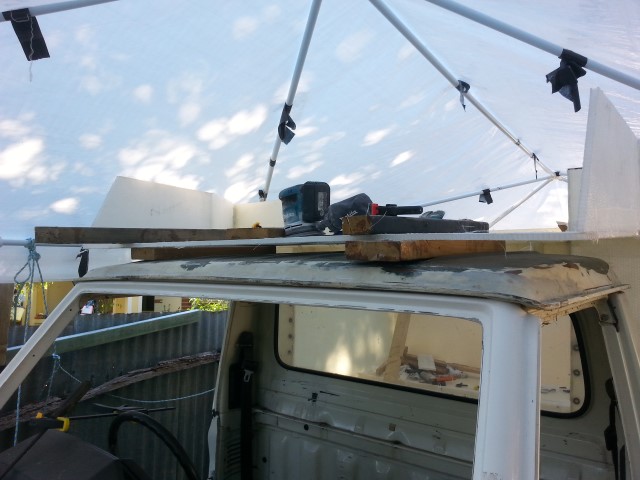
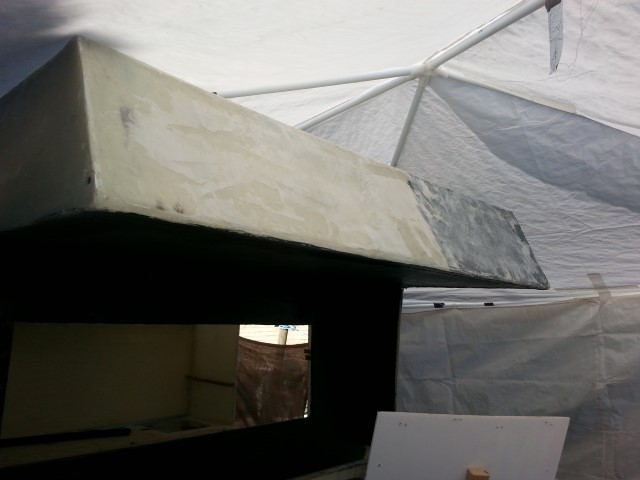
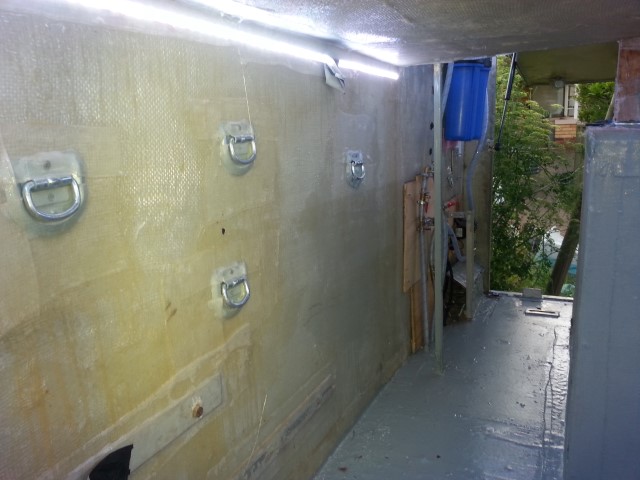
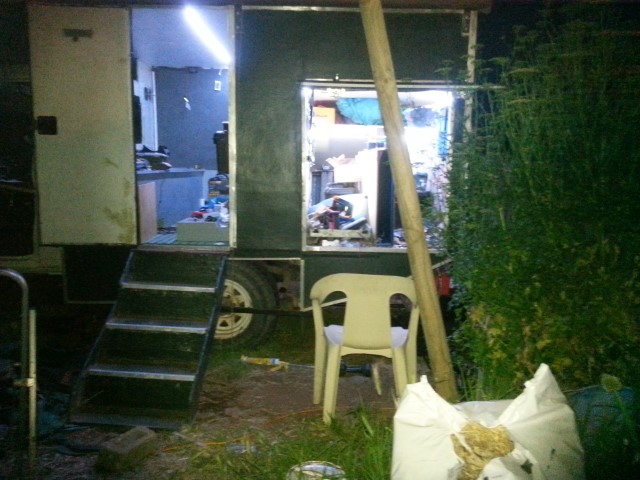
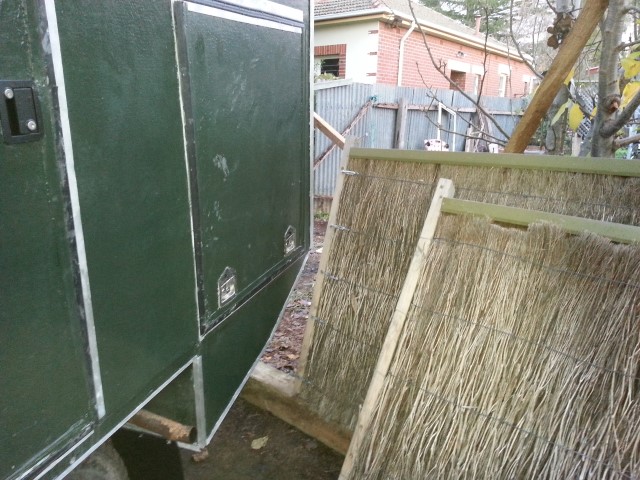
Adding the rear end storage area to the back of the base.Joining panels togetherBuilding storage boxes underneath, while having problems with a droopy back floor.Looking into a partially completed storage boxSide view of storage boxadding a side wallAdding wall on the door sideThe drivers side wall with the opening for the storage areabuilding the seat storage boxesMore building seat storage boxesBuilding another seat storage box, with an indent for my big feet when climbing inWater containers each side that make the 50litres total water storage. I sort of build the boxes to suit the water containers, and they put the weight low down between the axles.The water filter system, that I stole from Dan Grec on TheRoadChoseMe.com. The pump pumps water into to the containers through the filter, and then when its pumped out it goes through the filters again. Lots of valves to accomplish this.The twin 12V 135amp-hour AGM batteries. Rigging this up plus the solar charger and DC-DC charger took a long time.Trying to make a flexible connection between the cab and the camper for the opening was difficult, and at this stage I am not totally sure it has worked.Storage box for the portable solar panel in the rear storage area. It should have been made of composite fibreglass but I was running out of time for our first test camp near Burra, so its made out of plywood.Working on the opening between the camper and the cabWe built an esky/cooler in one of the underseat boxes. Built an insert and then filled the gap with foam. It seems to work OK so far.I lined the camper with marine carpet to cover up all my terrible rough fibreglassingMost of the time the camper was being built, the cab was mostly disassembled.Building the above cab storage areaThe above cab storage mostly built but with the cab removedTie downs fibreglassed on in the storage areaTesting out the strip led lighting systemsMounting the shade brackets (welded by my dad)Squeezing the camper out of the back yard a few days before leaving for Sydney and the shipping container